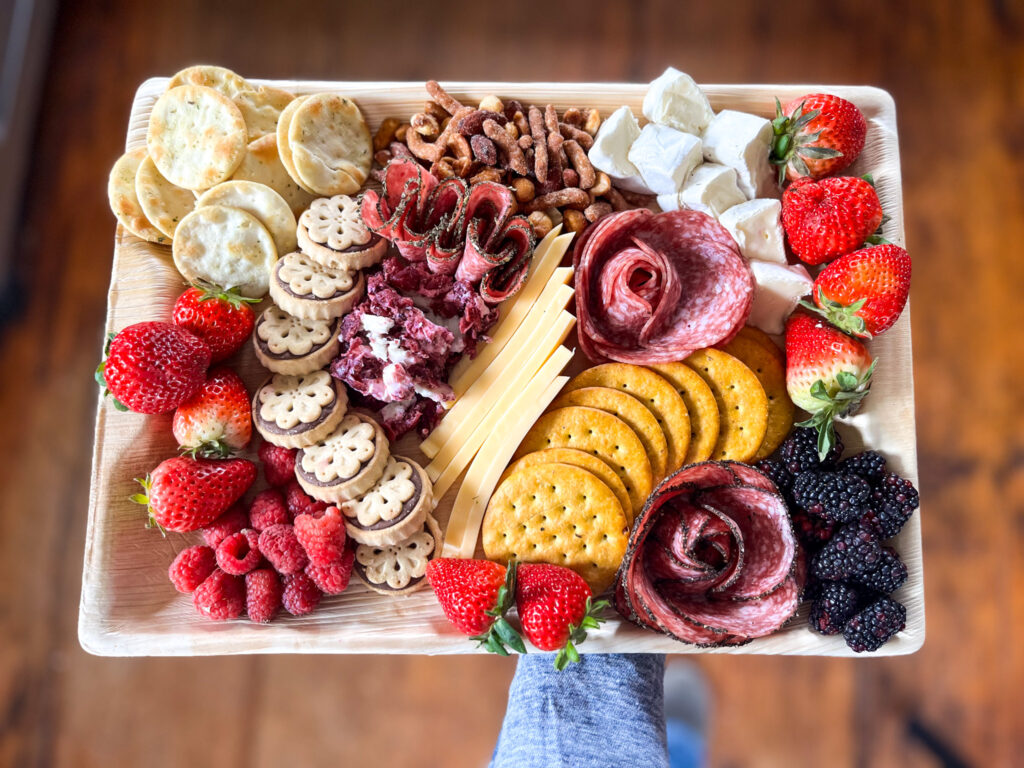
The short answer for How to Transport a Charcuterie Board: the safest way to transport a charcuterie board is to build it in parts, keep it cold, and assemble the delicate pieces once you arrive. A fully finished board can travel too: you just need the right container and a plan for keeping everything in place.
Below you’ll find my go-to methods for both, plus how to keep everything food-safe along the way.
Hi, I’m Gretchen - creator of Amazing Charcuterie Boards. I help home hosts and beginners create beautiful, stress-free charcuterie boards with simple rules, realistic portions, and easy styling techniques.

If you’re planning your next board, you may also find these helpful:
→ Charcuterie Board Portion Calculator
→ How to Design a Charcuterie Board (simple rules & layouts)
→ The Best Charcuterie Board Pairings

Want more board ideas and planning guides? Join my free newsletter here or search ideas.
Method 1: Transport in Parts, Assemble On-Site (Best for Most Occasions)
This is the method I use for almost every potluck, party, or picnic — it travels the best and looks the freshest when you arrive.
Pack separately in airtight containers:
- Sliced cheeses (stacked with parchment between layers so they don’t stick)
- Folded or rolled meats
- Cut fruit and veggies
- Nuts, olives, and dried fruit
- Dips and spreads (in small lidded containers or jars)
- Crackers (kept in their own bag — they get soggy fast if they touch anything else)
Bring along:
- Your empty board or platter
- A small cutting board and knife, if you still need to slice anything
- Garnish (fresh herbs, edible flowers) in a small damp paper towel or bag
Once you arrive, assembly usually takes 10–15 minutes. If you want a faster process, check out my 10-Minute Charcuterie Board method — it works just as well on-site as it does at home.
Pro tip: Take a quick photo of your board once it’s assembled at home. It makes recreating the layout on-site much faster, especially if you’re transporting for a big event.
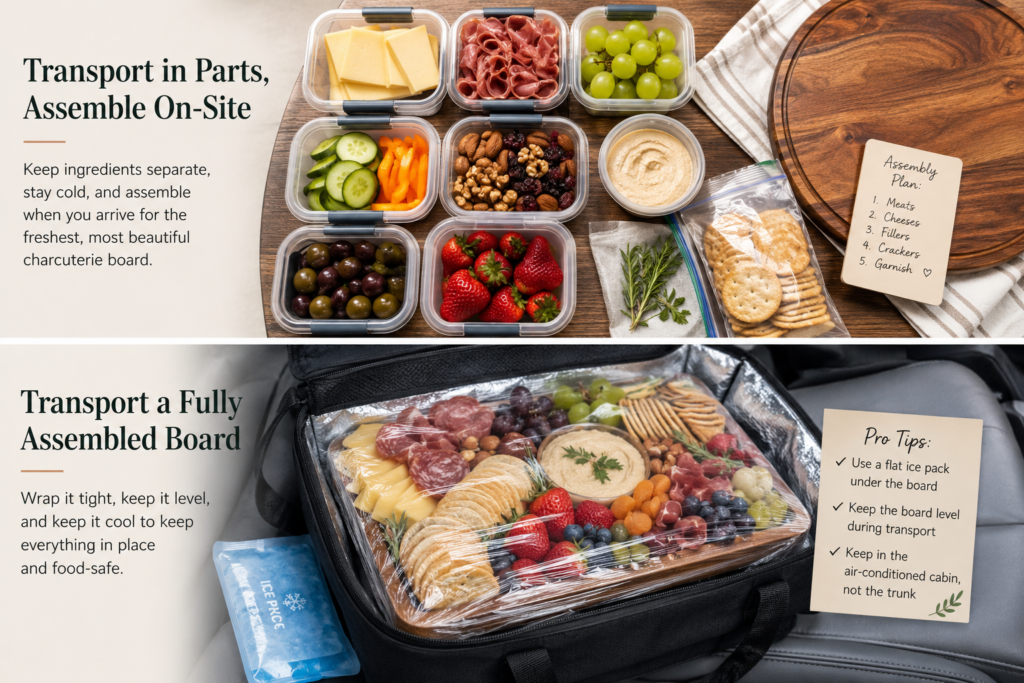
Method 2: Transport a Fully Assembled Board
If you’d rather arrive with the board already done, this works too — it just takes a little more care in the packing.
How to pack a finished board for travel:
- Wrap the entire board tightly in plastic wrap, pressing it close to the ingredients so nothing shifts
- Set it on a flat, stable surface in the car — the floor of the back seat or trunk works better than a seat, where it can slide
- Keep it level the entire trip. A board that tips even slightly can send fruit and dip sliding into everything else
- If your board has a lip or edge, that helps enormously — flat boards with no border are more prone to spills
Best boards for full-assembly transport:
- Boards with a raised edge or lip
- Boards that come with a fitted lid or cover
- Rimmed sheet pans (great for transport, less great for the final presentation — plan to transfer to your nice board once you arrive if you want the polished look)
If you’re deciding between board shapes for an event that involves travel, my Round vs. Rectangular Charcuterie Boards guide can help you pick one that travels well and looks good on the table.
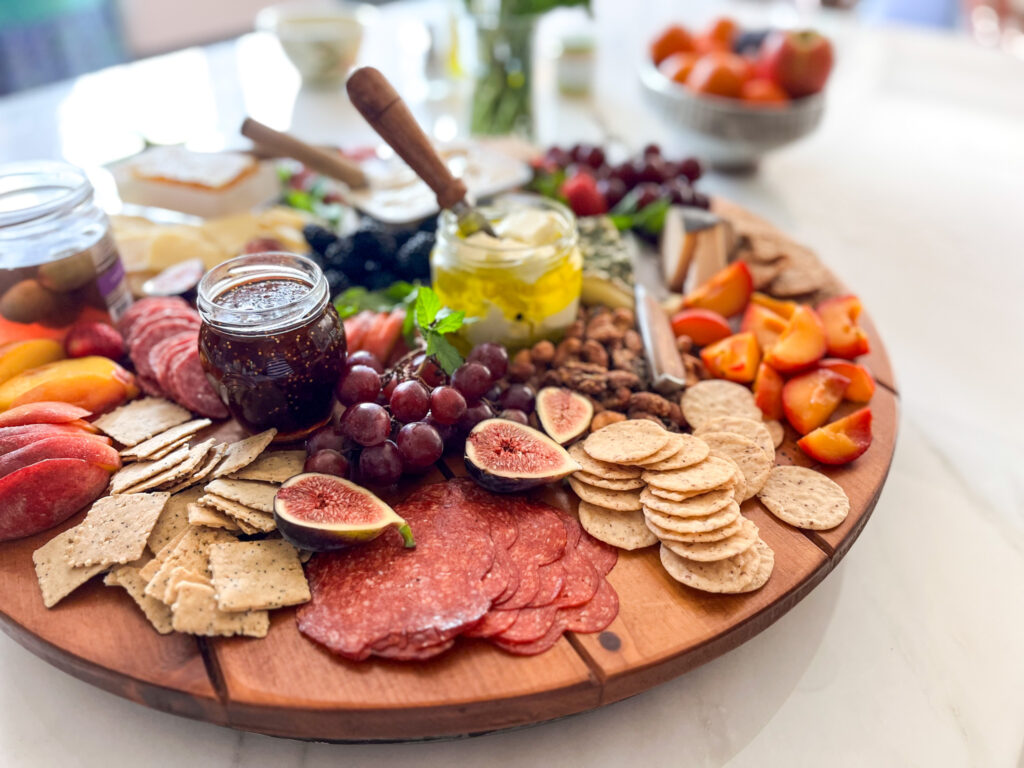
Keeping It Cold and Food-Safe on the Road
Charcuterie boards are full of perishable ingredients, so temperature matters just as much as presentation.
- Use a cooler bag or insulated carrier for any trip longer than 20–30 minutes, especially in warm weather
- Add a flat ice pack underneath the board or container — a large one that lies flat works better than several small ones
- If you’re transporting in the car, keep the board in the air-conditioned cabin rather than a hot trunk
- Once you arrive, aim to serve within 2 hours of the board leaving the fridge (or 1 hour if it’s a hot day above 90°F) — the same rule that applies to any perishable spread
Pro tip: An insulated charcuterie carrier bag is one of the best investments if you transport boards often — it keeps everything cold, upright, and protected from shifting in one trip. [Affiliate link placeholder — insulated charcuterie carrier]
Transporting for Long Distances or Hot Weather
If you’re headed somewhere more than 30–45 minutes away, lean toward Method 1 (transport in parts) rather than a fully assembled board. It’s much easier to keep raw ingredients cold and separated than to keep a finished board looking pristine over a long drive.
For long trips:
- Pack cheeses and meats in a separate cooler from fruit and dips — meats and cheeses need to stay coldest
- Leave crackers, bread, and any garnish for last — pack them in your regular bag, not the cooler
- If you’re traveling somewhere without a fridge for a few hours (a beach day or tailgate), build your board with hardier ingredients — hard cheeses, cured meats, nuts, and olives hold up far better than soft cheese or fresh berries. My Good Cheese for Charcuterie Boards guide has more on which cheeses travel best.
Quick Packing Checklist
- Cheeses sliced and layered with parchment
- Meats folded or rolled and stored flat
- Fruit and veggies cut and stored separately
- Dips and spreads in lidded containers
- Crackers packed separately, away from moisture
- Board or platter (clean, dry, ready to fill)
- Cooler bag or insulated carrier
- Ice pack (flat, large)
- Garnish, if using
Frequently Asked Questions
How long can a charcuterie board sit out during transport and serving? Plan for no more than 2 hours total at room temperature (1 hour if it’s above 90°F). This includes both the drive and the time it sits out once served.
Can I transport a charcuterie board in a hot car? Avoid the trunk in warm weather — keep the board in the air-conditioned cabin and use a cooler bag with an ice pack for anything longer than a short drive.
What’s the best container for transporting a charcuterie board? A board with a raised edge and a fitted lid is ideal for a fully assembled board. If you don’t have one, transporting the ingredients separately in airtight containers and assembling on-site is the safest option.
Do I need to keep crackers separate when transporting? Yes — crackers and bread should always travel in their own container, away from any moisture. Add them to the board right before serving so they stay crisp.
Final Thoughts
However you transport your board, the goal is the same one behind any good charcuterie spread: something that looks effortless, even if it wasn’t assembled five minutes ago. A little planning on the front end means you can show up, set it out, and actually enjoy the party.