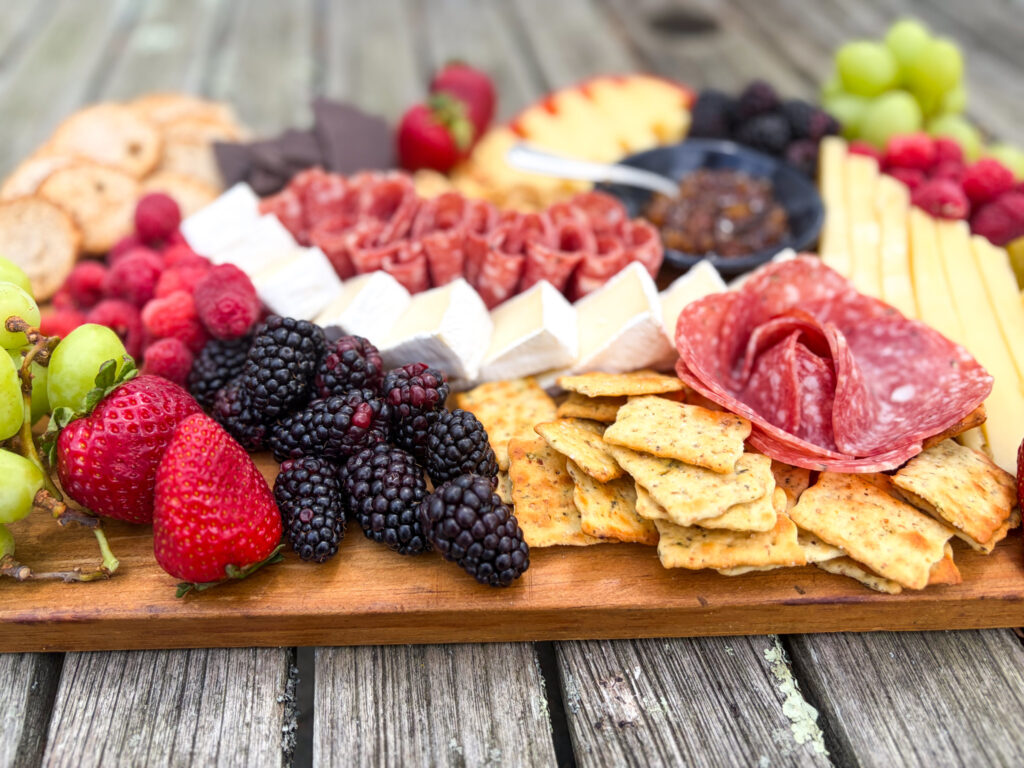
Charcuterie boards have taken over dinner parties, holiday gatherings, and weekend get-togethers, and for good reason. They’re beautiful, endlessly customizable, and somehow manage to feel both effortless and impressive at the same time. But if you’ve never built one before, staring at an empty wooden board with a pile of ingredients can feel a little overwhelming. Where do you start? How much do you need? What even goes on one of these things?
This Beginners Guide to Charcuterie breaks it all down, step by step, so your first charcuterie board is one you’ll actually be proud to set on the table.
What is a Charcuterie Board
The word charcuterie (pronounced shar-KOO-tuh-ree) comes from the French tradition of preparing and preserving cured meats. Traditionally, it referred specifically to pork products like salami, prosciutto, and pâté. These days, the term has expanded well beyond its French origins — a modern charcuterie board is really just a curated spread of cured meats, cheeses, and accompaniments arranged on a board or platter for sharing.
Think of it less as a recipe and more as an edible composition. You’re building something that looks good, tastes good, and gives your guests plenty to graze on and mix and match as they please.
Read the full history of the charcuterie board.
What to Consider when Planning a Charcuterie board
Charcuterie boards have taken over dinner parties, holiday gatherings, and weekend get-togethers — and for good reason. They’re beautiful, endlessly customizable, and somehow manage to feel both effortless and impressive at the same time. But if you’ve never built one before, staring at an empty wooden board with a pile of ingredients can feel a little overwhelming. Where do you start? How much do you need? What even goes on one of these things?
This guide breaks it all down, step by step, so your first charcuterie board is one you’ll actually be proud to set on the table.
What Is a Charcuterie Board?
The word charcuterie (pronounced shar-KOO-tuh-ree) comes from the French tradition of preparing and preserving cured meats. Traditionally, it referred specifically to pork products like salami, prosciutto, and pâté. These days, the term has expanded well beyond its French origins — a modern charcuterie board is really just a curated spread of cured meats, cheeses, and accompaniments arranged on a board or platter for sharing.
Think of it less as a recipe and more as an edible composition. You’re building something that looks good, tastes good, and gives your guests plenty to graze on and mix and match as they please.
What to Consider When Planning Your Board
Before you buy a single thing, a few planning questions will save you time, money, and stress.
How Will People Eat the Food?
This matters more than people realize. Are guests standing around cocktail-style with drinks in hand, or will everyone be seated at a table? A standing crowd needs smaller, easy-to-grab bites — think pre-sliced cheeses, folded meats, and crackers that don’t require two hands. A seated group can handle larger pieces, spreads, and items that need a little assembly. Also consider whether you’ll need toothpicks or small plates, and whether any guests have dietary restrictions that might shape what you include.
How Much Do You Need?
A common beginner mistake is either wildly over-buying or ending up with a board that looks sparse. As a general starting point:
- Meat: 2–3 oz per person if the board is an appetizer; 4–5 oz if it’s the main event
- Cheese: 2–3 oz per person, with 2–3 varieties for variety
- Crackers & bread: 1–1.5 oz per person
- Accompaniments (olives, jams, nuts, fruit): small amounts of several things — a handful of each goes a long way
For a casual gathering of four to six people, a good starting point is about half a pound each of meat and cheese total, spread across two or three varieties of each. You can always add more, but this gives you a solid, abundant-looking board without breaking the bank.
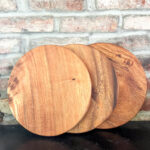
What Is the Best Shape for Your Board?
The board itself sets the stage for everything else. Here’s a quick breakdown:
- Rectangular or long boards are great for larger spreads and give you natural sections to work with
- Round boards create a beautiful, symmetrical look and work well for smaller gatherings
- Slate boards add a sleek, modern aesthetic and are easy to clean
- Rustic wood boards give a warm, farmhouse feel that photographs beautifully
As a beginner, use whatever you already have — a large cutting board, a baking sheet lined with parchment, or even a large plate all work perfectly fine. You don’t need to invest in a specialty board to make something that looks great.
Ingredients for your Charcuterie Board
A well-balanced board hits several flavor and texture categories at once. Here’s what to shop for:
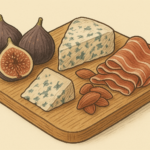
Cured Meats (pick 2–3): Genoa salami, hard salami, prosciutto, soppressata, or pepperoni are all easy to find and crowd-pleasing. Try to mix at least one mild option and one with a little more spice or smokiness.
Cheeses (pick 2–3): Aim for variety in texture and flavor. A soft cheese (like brie or goat cheese), a semi-firm cheese (like gouda or havarti), and a hard cheese (like aged cheddar or parmesan) give guests something different in every bite. Not sure how much cheese to buy? Check out our guide on how much cheese per person for a charcuterie board to make sure you have enough without overdoing it.
Crackers & Bread: Offer at least two options — a neutral cracker and something with more flavor, like a rosemary crisp or seeded cracker. Sliced baguette is always a welcome addition.
Sweet Elements: Honey, fig jam, or fruit preserves add sweetness that plays beautifully against salty meats and rich cheeses. Fresh grapes, sliced pears, or strawberries do the same job with a fresh, juicy element. If you’re working with fresh fruit, our guide on how to cut fruit and veggies for a board has everything you need to make them look as good as they taste.
Savory & Briny Accents: Olives, cornichons, pickled vegetables, or whole grain mustard bring acidity and contrast that keep the board from feeling one-note. Our post on amazing dips to add to a board is worth a look if you want to take the savory element further.
Extras: Nuts (marcona almonds, candied walnuts), dried fruit (apricots, cranberries), and dark chocolate pieces are easy fillers that add color, texture, and a little something unexpected. If you’re working with a tight budget, the budget board rule is a great framework for getting the most out of every dollar.
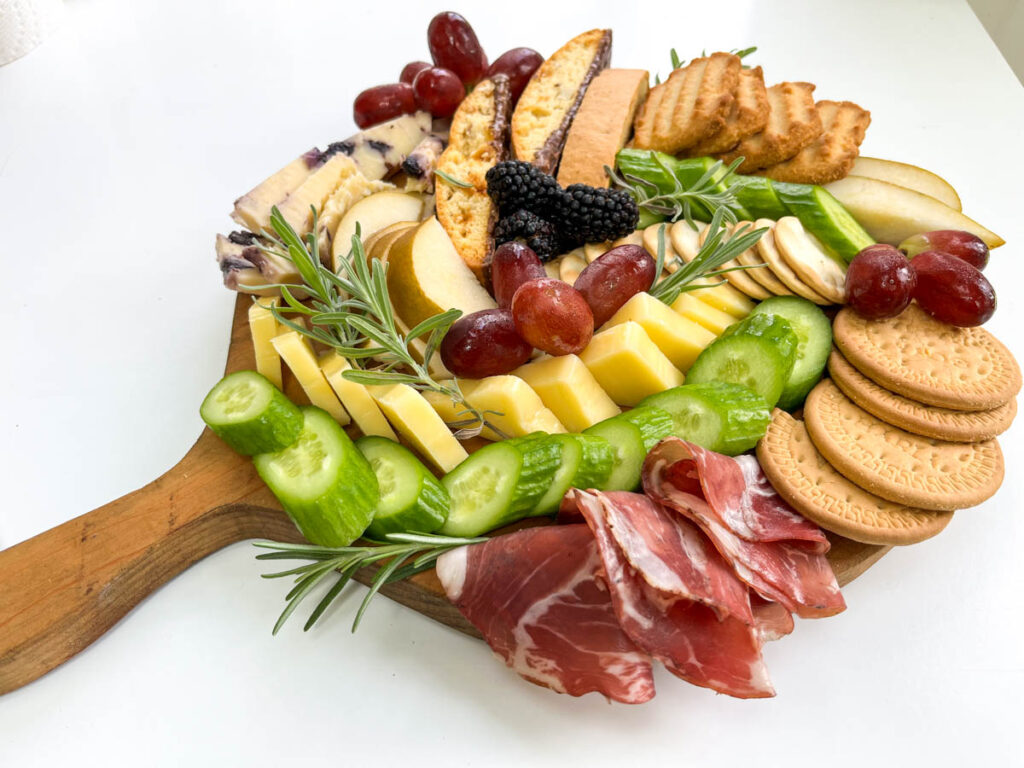
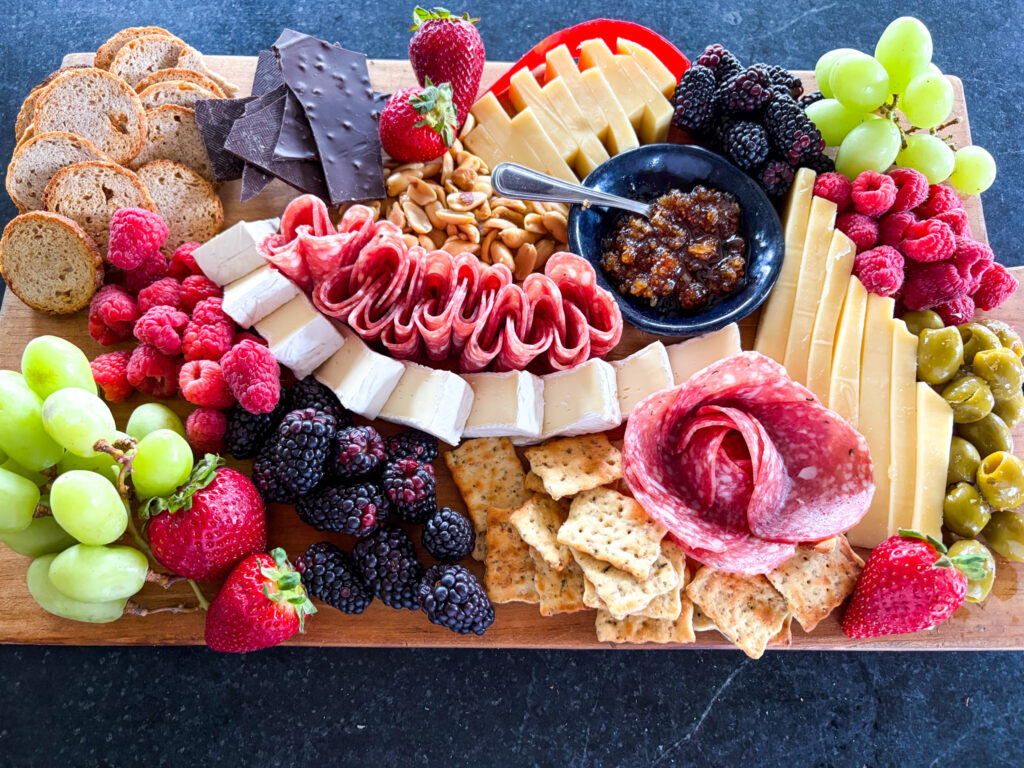
How to Actually Assemble your Board
Now for the fun part. Follow this order and the whole thing comes together surprisingly quickly. If you want a more detailed framework before you dive in, our beginner board formula walks you through the whole process step by step.
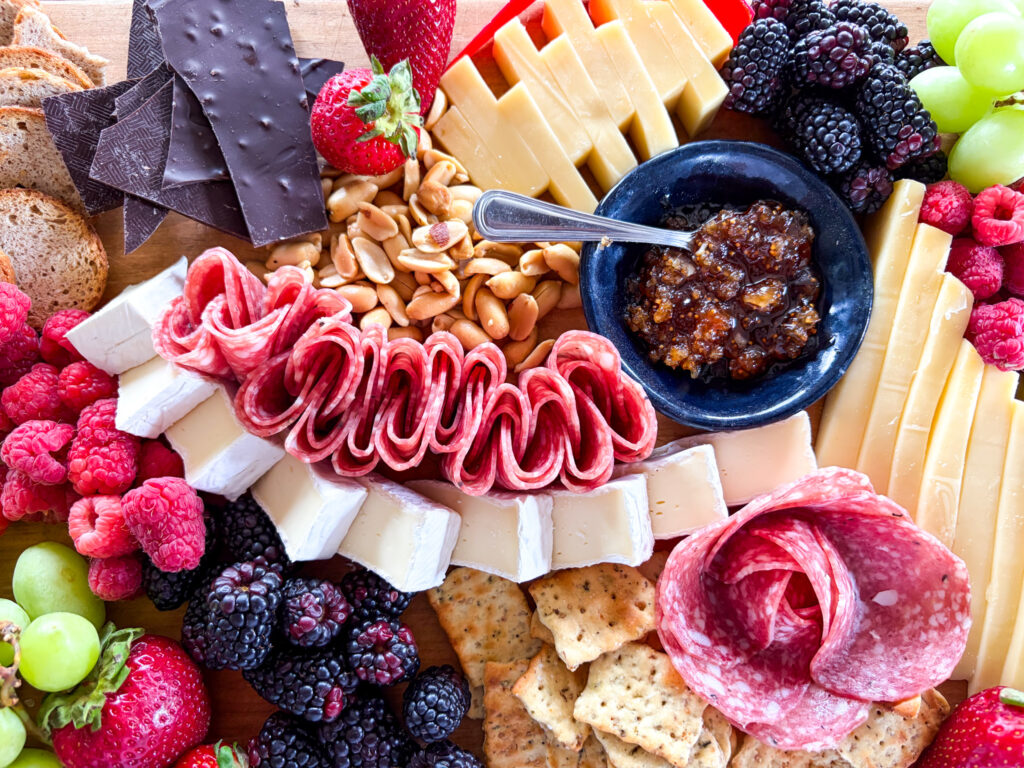
1. Place your bowls and large anchors first. Any small bowls for olives, jam, or dips go on the board first since they take up fixed space. Add your largest cheese wedges next — these are your visual anchors. For tips on exactly where to position them, see our post on where to place cheese on a charcuterie board.
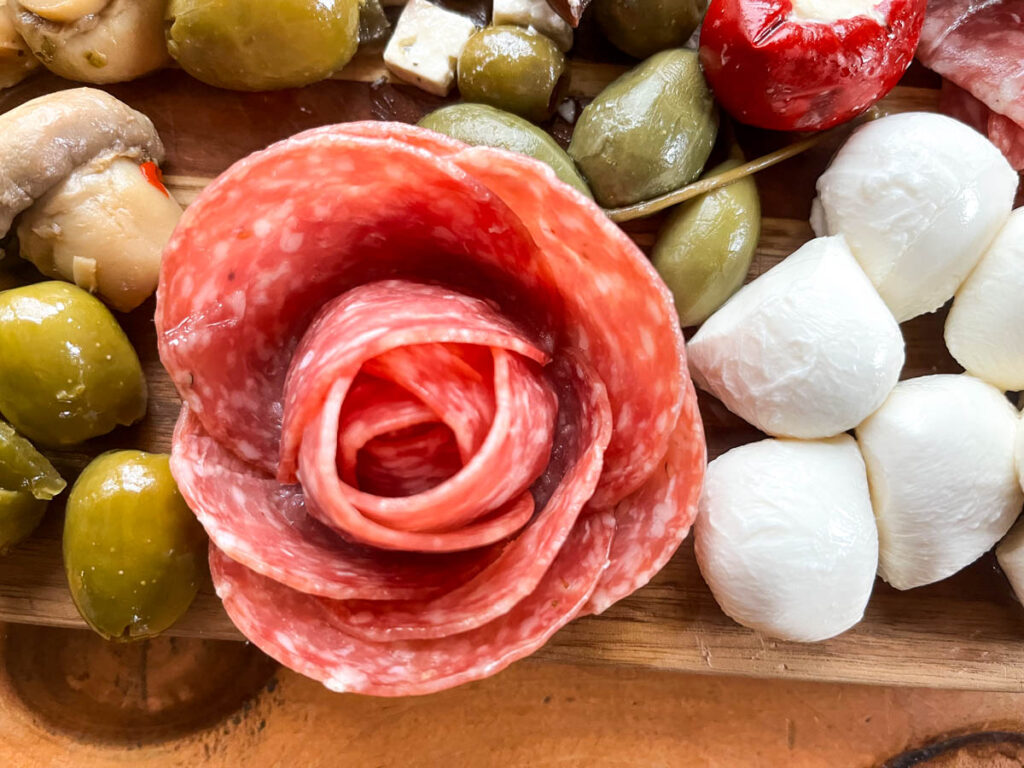
2. Add your meats. Fold or fan your salami, drape your prosciutto in loose ribbons, and arrange them in clusters near (but not on top of) the cheese. Leave a little breathing room between elements.
3. Fill in with crackers and bread. Tuck crackers along the edges and in gaps between the larger items. You don’t need to cover every inch — negative space is fine and actually makes the board look more intentional.
4. Add your fresh elements. Grapes, sliced fruit, and fresh herbs go in last since they’re the most delicate. Tuck small clusters into open spots to add color and softness.
5. Finish with small accents. Scatter nuts, dried fruit, and chocolate into any remaining gaps. A light drizzle of honey over a piece of brie right before serving is a finishing touch that never fails to impress. Wondering how far ahead you can do all of this? We’ve got you covered — read our post on how far ahead you can make a charcuterie board so nothing goes to waste.
The most important thing to remember is that there’s no wrong way to build a charcuterie board. Start simple, trust your eye, and adjust as you go. The more boards you make, the more natural it feels — and the more fun it becomes to experiment with new ingredients, arrangements, and styles. When you’re ready to level up, our 7 element rule is a great next step for taking your boards from good to really great.
Now grab a board and get building.