A few weeks ago I saw some amazing images of a charcuterie chalet online and I instantly wanted to make my own. There are several tutorials online showing you how to make a charcuterie chalet from scratch, but I wanted to start from a kit to make the first one easier – and I found edible architecture. You can order these kits online and it makes it so easy and fun to make.
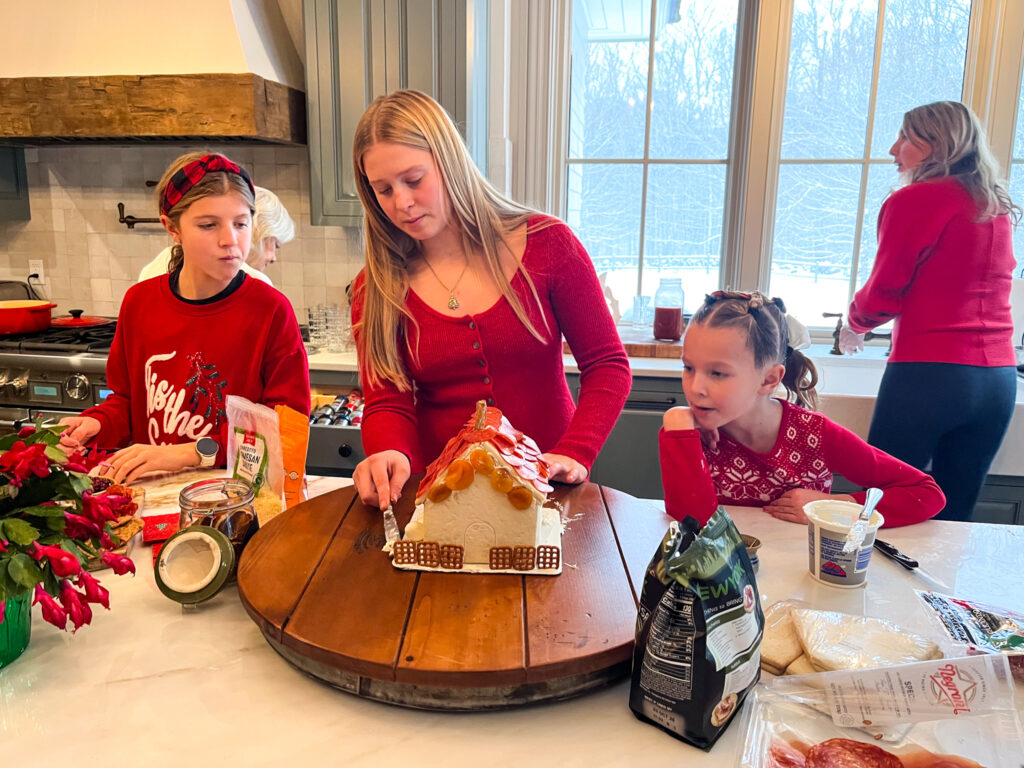
We made our first charcuterie chalet during a family party and it was a fun activity and made a great appetizer before our big meal.
If you are looking for other holiday board ideas? Check out our favorite appetizers or see my favorite small Christmas Board.
Hi, I’m Gretchen - creator of Amazing Charcuterie Boards. I help home hosts and beginners create beautiful, stress-free charcuterie boards with simple rules, realistic portions, and easy styling techniques.

If you’re planning your next board, you may also find these helpful:
→ Charcuterie Board Portion Calculator
→ How to Design a Charcuterie Board (simple rules & layouts)
→ The Best Charcuterie Board Pairings

Want more board ideas and planning guides? Join my free newsletter here or search ideas.
What is a Charcuterie Chalet?
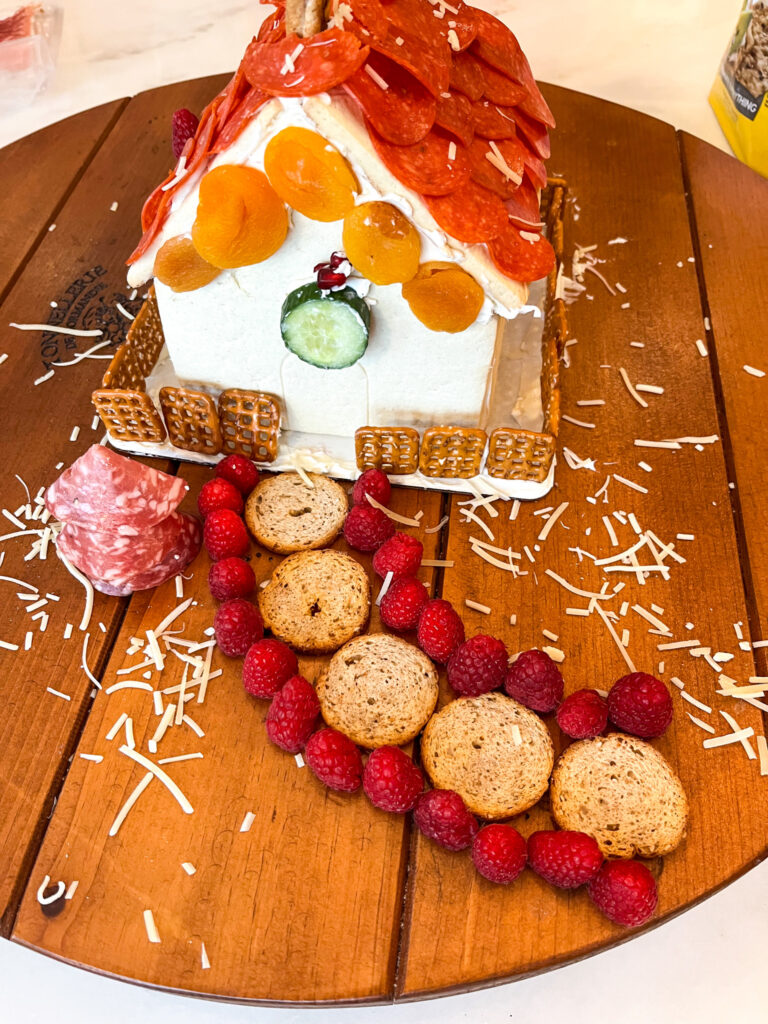
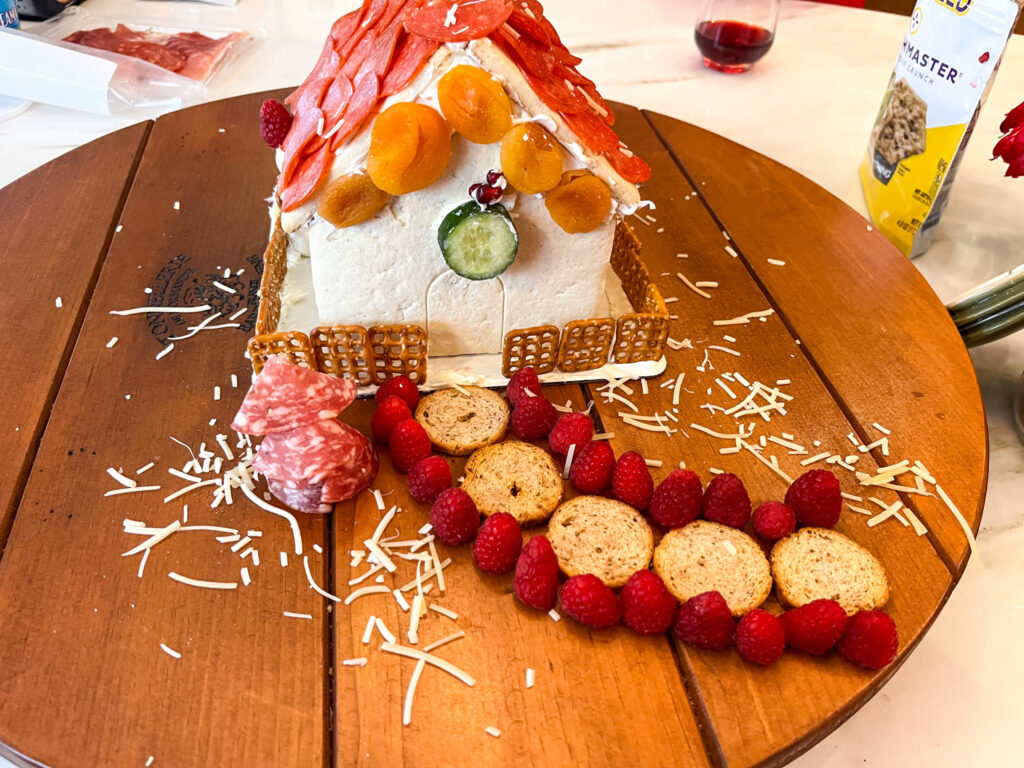
A charcuterie chalet is a festive, winter-inspired twist on a traditional charcuterie board, designed to look like a cozy alpine-style cabin or ski lodge—made entirely from edible ingredients. Think of it as part charcuterie board, part gingerbread house, but built with savory snacks instead of sweets.
Instead of cookies and icing, a charcuterie chalet uses items like crackers or breadsticks for walls, sliced cheeses for roofing, cured meats for texture, and pretzels, nuts, herbs, or vegetables for decorative details. The structure is usually assembled with soft cheese, cream cheese, or other spreadable cheeses acting as the “glue.”
Charcuterie chalets are especially popular during the holidays and winter gatherings because they’re both interactive and eye-catching, guests love admiring the details before pulling pieces off to eat. They work well as a centerpiece for Christmas parties, ski-themed gatherings, après-ski nights, or cozy winter entertaining.
Ingredients for a Charcuterie Chalet
The first thing you need is the main pieces to build the chalet. You can make your own, but we purchased ours online at edible architecture.
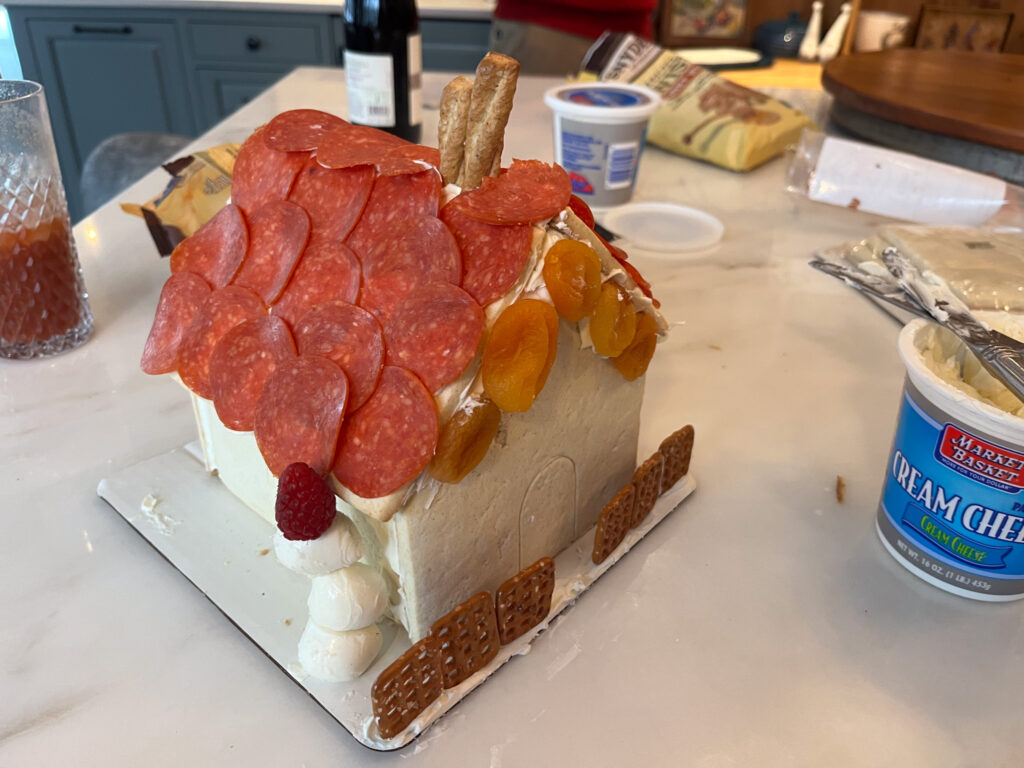
You can use almost any ingredients to build this charcuterie chalet. Here is exactly what we used:
- Cream Cheese
- Dried Apricots
- Crackers
- Raspberries
- Cucumbers
- Nuts
- Salami/pepperoni
- Parmesan
- Pretzels (various sizes)
Other Ingredients
Below are some other ingredients. I would recommend searching for images of the charcuterie chalets to get additional ideas since every chalet is different.
Cheeses
- Brie or Camembert (soft, for spreading or walls)
- Cheddar cubes or slices
- Gouda or Havarti slices
- Blue cheese crumbles
Meats & Protein
- Prosciutto or thinly sliced ham
- Chorizo or soppressata
- Mini sausages
Fruits & Veggies
- Grapes (whole or halved)
- Strawberries
- Apple slices or pear slices
- Cherry tomatoes
- Bell pepper strips
- Carrot sticks or baby carrots
Nuts & Seeds
- Almonds or cashews
- Walnuts or pecans
- Sunflower seeds or pumpkin seeds
Other Edible Decorations
- Breadsticks (for roof beams or fences)
- Pretzel sticks or twists
- Olives (green or black)
- Pickles or cornichons
- Fresh herbs (rosemary, thyme, parsley) for “trees” or greenery
Sweet Accents (optional)
- Honeycomb pieces
- Fig jam or other spreads for “glue”
- Chocolate-covered nuts for a festive touch
You can mix and match depending on whether you want a savory chalet, a sweet-savory mix, or even a holiday-themed color palette.
How to Assemble a Charcuterie Chalet
Building a charcuterie chalet is easier than it looks, and it’s a fun, creative project for the holidays or winter gatherings. Here’s a step-by-step guide to assembling your chalet:
1. Prepare Your Base and Main Pieces
Start with the main structural pieces of your chalet. You can make these yourself from bread, crackers, or baked goods, or purchase a pre-made edible architecture kit online. Make sure you have a flat, sturdy surface to build on—this will keep your chalet stable as you add ingredients.
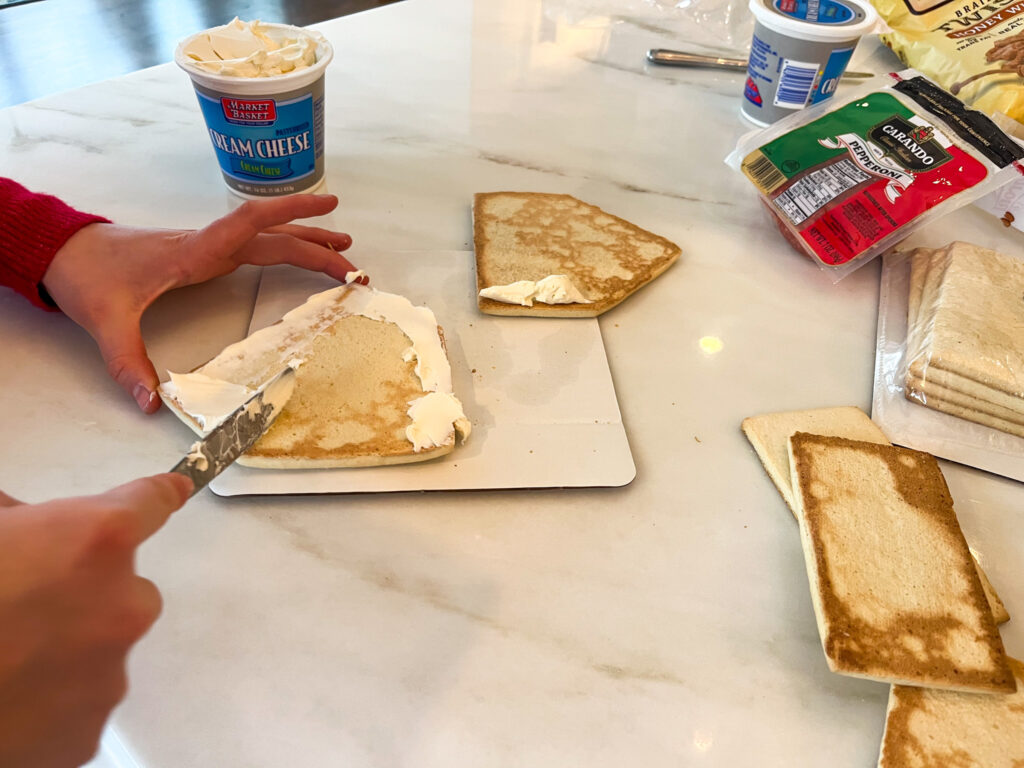
2. Use Soft Cheese as “Glue”
Spread cream cheese, soft Brie, or another spreadable cheese along the edges of your walls and roof pieces. This will hold your chalet together and give you a secure foundation for adding decorative ingredients.
3. Assemble the Walls and Roof
Attach the walls first, pressing gently but firmly so the cheese sticks. Then add the roof pieces, again using soft cheese to secure them. For extra stability, you can use pretzel sticks, breadsticks, or skewers as internal supports if needed.
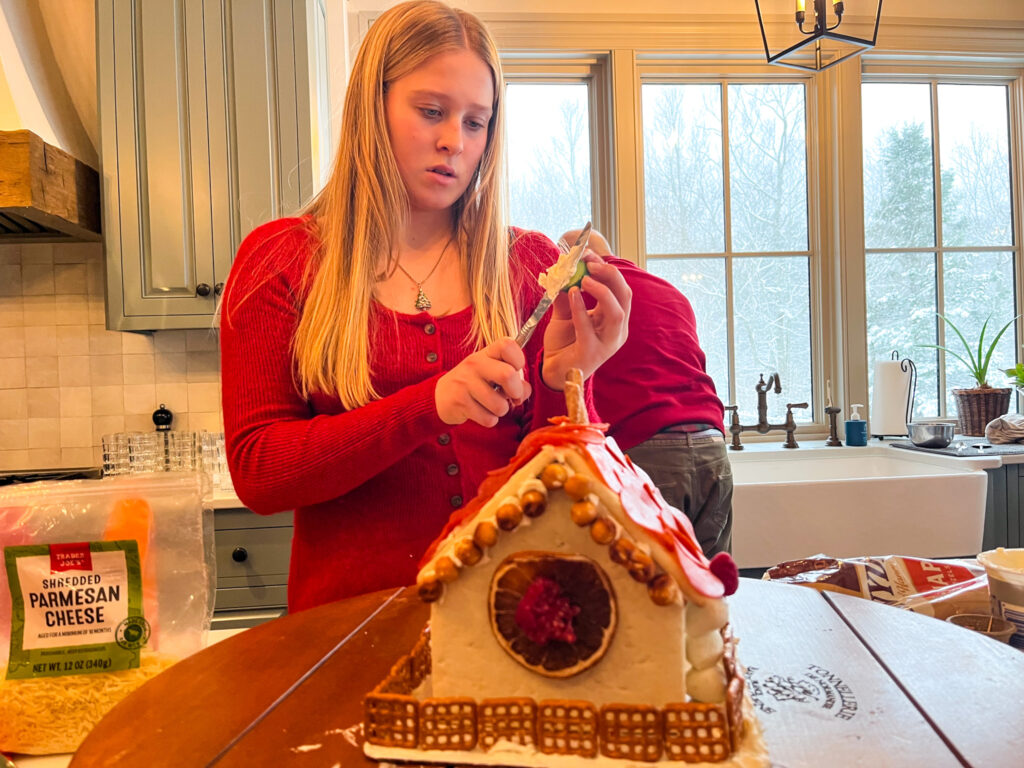
4. Decorate Your Chalet
Once the structure is stable, start decorating! Use crackers, nuts, or sliced cheese for roof tiles, and dried fruits, vegetables, or berries for accents. Pretzels make excellent fences, logs, or beams, while fresh herbs like rosemary can act as mini evergreen trees around your chalet.
5. Add Finishing Touches
Add smaller details to make your chalet whimsical and festive. Think little pathways with nuts, snowy rooftops with powdered cheese or coconut flakes, and edible “lights” from small fruits like raspberries or cherry tomatoes.
6. Serve and Enjoy
Once your chalet is complete, place it in the center of your table as a centerpiece. Guests can admire the creative display before digging in! Keep extra ingredients nearby so people can snack and add to the chalet as they go.
The beauty of a charcuterie chalet is that it’s flexible and forgiving—no two chalets look exactly alike, and a little imperfection only adds to the charm. It’s a playful, delicious way to combine artistry with savory snacks for a memorable winter display.