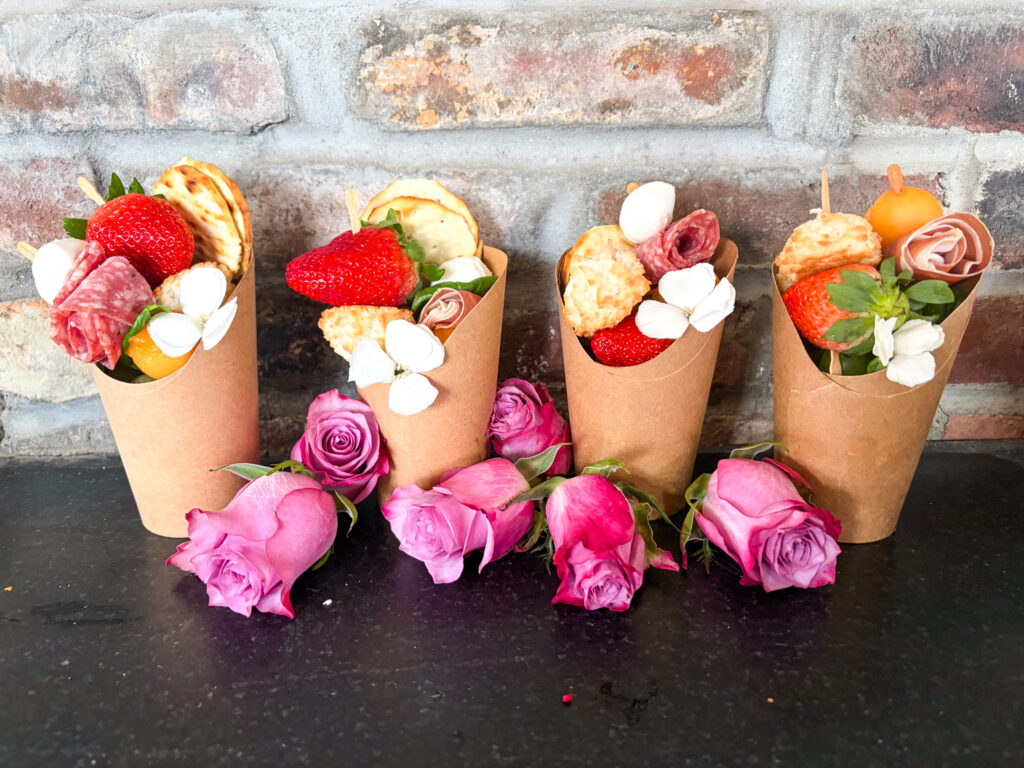
Individual, portable, and impossibly charming, charcuterie cups are the effortless upgrade your next gathering deserves. These are perfect for a party or anytime you’re serving charcuterie and people have food preferences or limitations. I love to make these for events like bridal showers and weddings since they are pretty and easy to pick up.
You can see some ideas for charcuterie cups for: bridal showers, Christmas, and Thanksgiving.
Hi, I’m Gretchen - creator of Amazing Charcuterie Boards. I help home hosts and beginners create beautiful, stress-free charcuterie boards with simple rules, realistic portions, and easy styling techniques.

If you’re planning your next board, you may also find these helpful:
→ Charcuterie Board Portion Calculator
→ How to Design a Charcuterie Board (simple rules & layouts)
→ The Best Charcuterie Board Pairings

Want more board ideas and planning guides? Join my free newsletter here or search ideas.
What Are Charcuterie Cups?
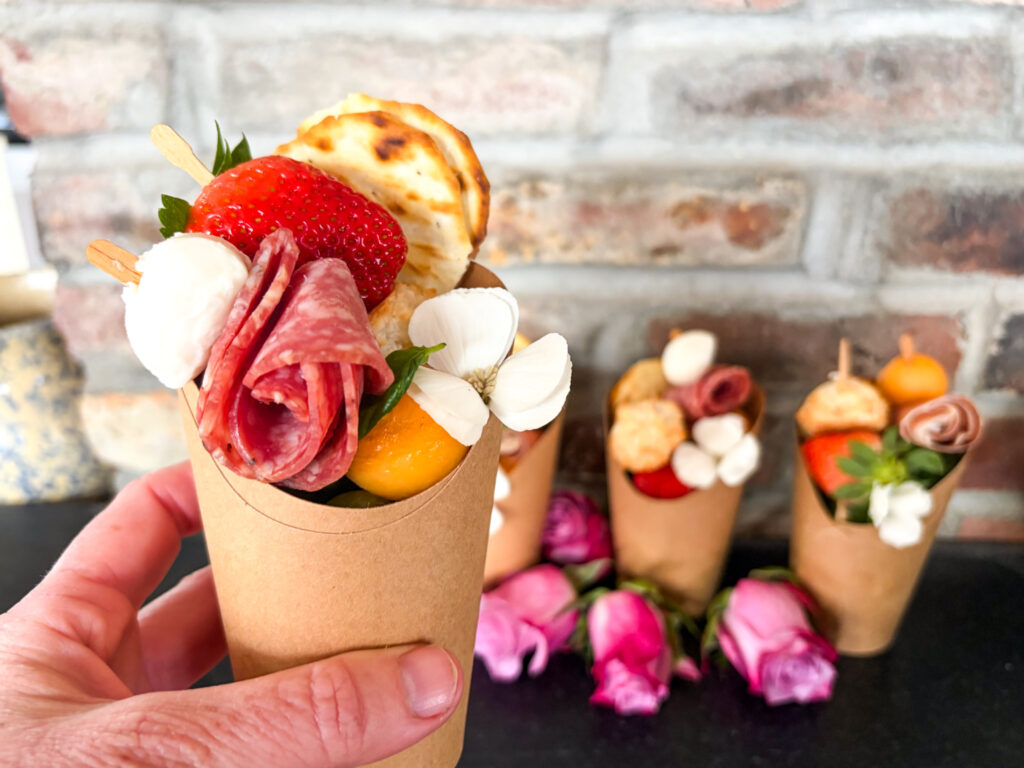
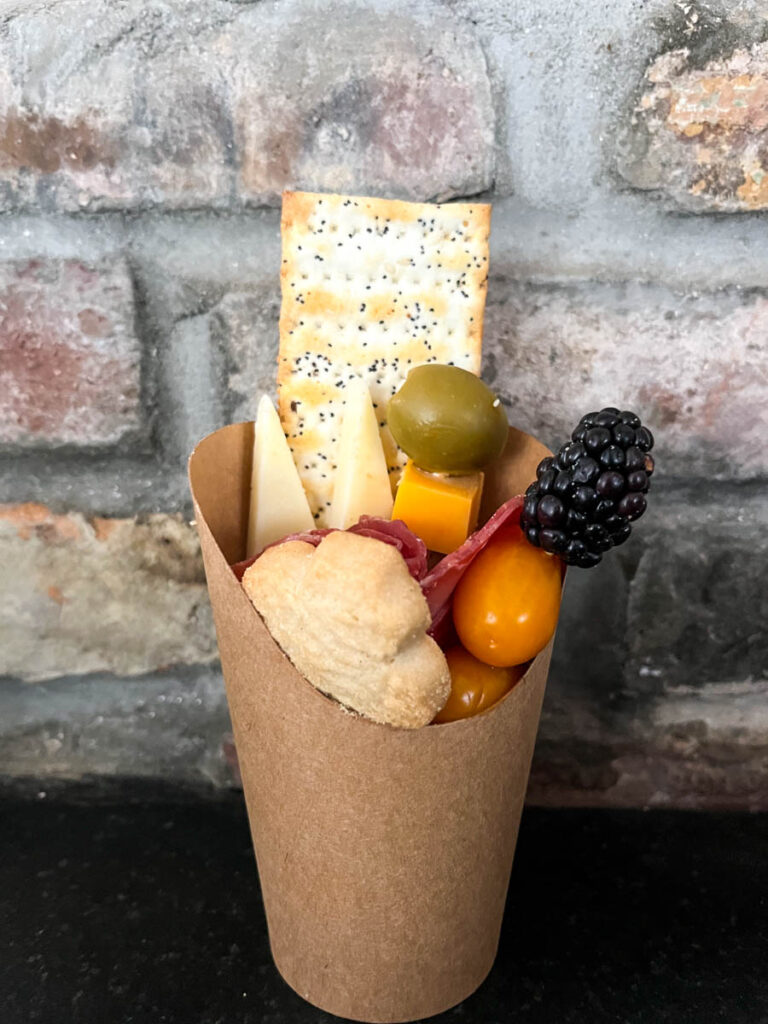
Charcuterie cups are individual portions of charcuterie and snack ingredients assembled in a small cup, glass, or vessel — think mini Mason jars, shot glasses, stemless wine glasses, paper cups, or even mini terracotta pots. Each cup holds a curated selection of meats, cheeses, fruits, crackers, and accoutrements arranged in an artful, layered way.
They’re hygienic (no shared serving board), portion-controlled, easy to transport, and completely customizable per guest.
What You’ll Need
The beauty of charcuterie cups is their flexibility. Below are ingredient ideas organized by category: mix and match to suit your taste, theme, or dietary needs. Of course you will also need charcuterie cups and you can also get custom stickers to add something personal.
Meats
- Prosciutto
- Salami (any variety)
- Pepperoni
- Sopressata
- Capicola
- Smoked turkey
Cheeses
- Cheddar cubes
- Gouda slices
- Manchego wedges
- Brie bites
- Colby jack
- Pepper jack
Crackers & Bread
- Butter crackers
- Rosemary crackers
- Mini breadsticks
- Pretzel rods
- Crostini
Vessels to Use
- Mini Mason jars
- Stemless wine glasses
- Plastic or paper cups
- Shot glasses
- Terracotta pots
- Fluted cups
Accoutrements
- Honey
- Whole-grain mustard
- Jam or fruit preserves
- Nuts (almonds, walnuts)
- Dark chocolate pieces
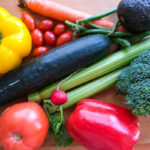
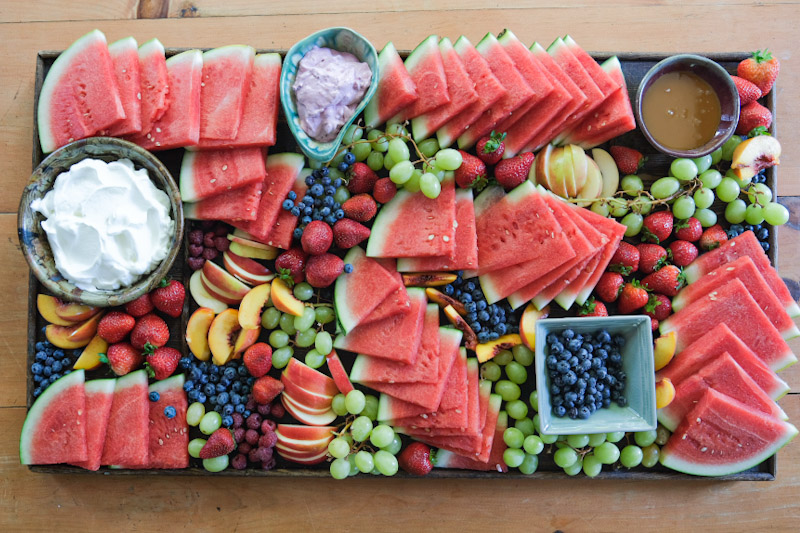
Fruits & Produce
- Red & green grapes
- Strawberries
- Cherry tomatoes
- Blueberries
- Olives
- Cornichons

How to Make Charcuterie Cups: Step by Step
- Choose your vessel. Pick cups that suit your event’s vibe. Clear glass looks elegant and shows off the layers; paper cups are practical for outdoor or casual events. Aim for a 6–10 oz size so there’s room to build height.
- Start with a base. Place your sturdiest, tallest items in first to anchor the cup. Pretzel rods, breadsticks, and crackers work perfectly as the “skeleton” of your cup — stand them upright along the edges so they fan out attractively.
- Fold and roll your meats. Fold prosciutto into elegant ruffles, roll salami into roses, or fold pepperoni in half twice to create fans. Tuck these into the cup around the crackers so they stand upright or lean at angles.
- Add cheese. Cube or slice your cheeses and nestle them into gaps between the meats. Varying shapes — cubes, triangles, and rolled slices — adds visual texture and makes the cup look full and abundant.
- Fill in with fruits and vegetables. Cluster grapes, drop in a few olives, or tuck strawberries and cherry tomatoes into open spots. These add color and freshness that make the cup pop.
- Add your finishing touches. Drizzle a small amount of honey, add a few nuts, or tuck in a piece of dark chocolate. A small sprig of fresh rosemary or thyme can serve as a beautiful, fragrant garnish.
- Serve or store. Serve immediately, or cover with plastic wrap and refrigerate for up to 24 hours. Remove from the fridge 20–30 minutes before serving to let the meats and cheeses come to room temperature.
Pro Tip: Build upward, not just outward. The best charcuterie cups have height — items peeking above the rim of the cup look abundant and inviting. Don’t be shy about letting crackers, breadsticks, and grapes spill over the edges.

Creative Variations to Try
Dessert Cup: Chocolate, berries, mini cookies, Nutella, and caramel dipping sauce for a sweet-only version.
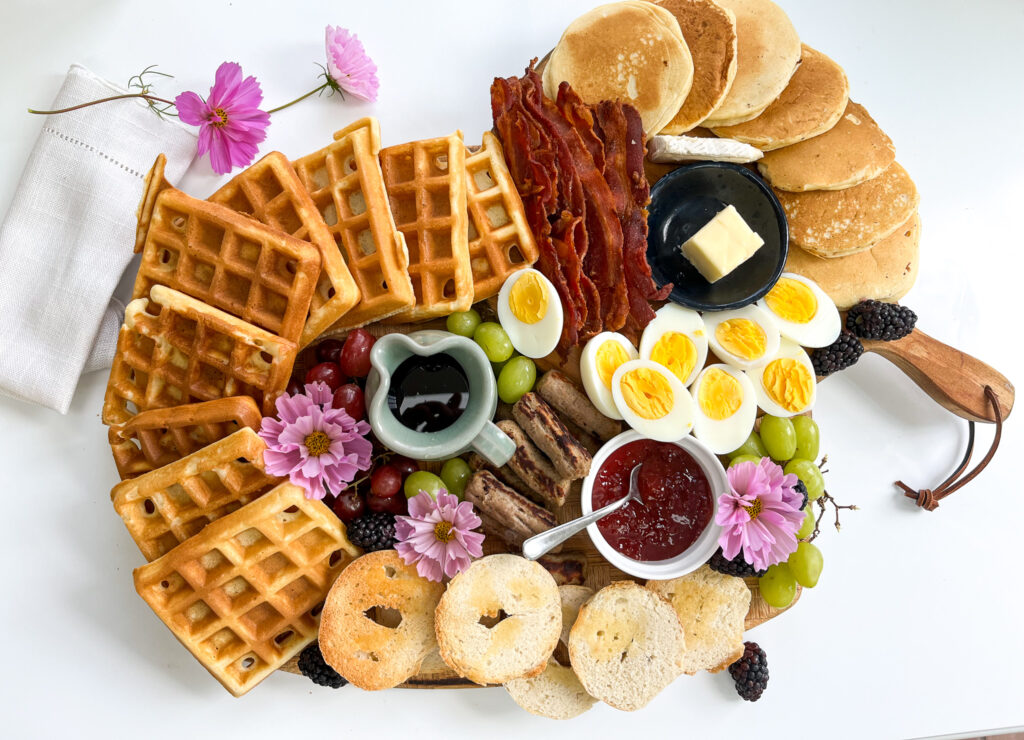
Breakfast Cup: Mini muffins, fresh fruit, yogurt cups, granola, and a drizzle of honey. Perfect for brunch.
Veggie Cup: Hummus, cucumber rounds, cherry tomatoes, bell pepper strips, and pita crisps.
Italian Theme: Capicola, fresh mozzarella, olives, sun-dried tomatoes, pesto, and crostini.
Holiday Cup: Red and green produce (strawberries, grapes, rosemary) with white cheeses for a festive look.
Kid-Friendly: Mild cheddar, turkey slices, goldfish crackers, apple slices, grapes, and mini pretzels.
Tips for the Best Charcuterie Cups
Think in odd numbers. Odd-numbered groupings (3 grapes, 5 crackers) look more natural and visually balanced than even ones.
Vary your textures. A great cup has something crunchy, something creamy, something salty, something sweet. Contrast is what makes every bite interesting.
Color is everything. Aim for at least 3–4 distinct colors per cup. The contrast of deep red salami, pale cheese, vibrant green grapes, and golden crackers is what makes a cup photograph beautifully.
Don’t overstuff. It’s tempting to pack in as much as possible, but leaving a little breathing room makes the cup look curated rather than chaotic. Every ingredient should be visible.
Match the cup to the occasion. Rustic Mason jars suit a farm wedding or outdoor gathering. Elegant stemless glasses work for cocktail parties. Paper or plastic cups make cleanup easy for casual events.
Frequently Asked Questions
How far in advance can I make charcuterie cups?
You can assemble them up to 24 hours ahead. Cover with plastic wrap and refrigerate. Add any crackers that might get soggy right before serving.
How many ingredients per cup?
Aim for 6–8 different ingredients per cup. Too few looks sparse; too many gets crowded. A good formula: 2 meats, 1–2 cheeses, 1 cracker/breadstick, 1–2 fruits or vegetables, and 1 accent item (honey, nut, or chocolate).
What size cups work best?
6 to 10 oz cups are ideal — large enough to hold a satisfying variety, small enough to feel personal and portable. Mini Mason jars (4 oz) work well for lighter appetizer servings.
How much does it cost per cup?
Budget around $3–6 per cup depending on your ingredient choices. Buying meats and cheeses from a deli counter and slicing them yourself is much more economical than pre-packaged options.
Can I make them for a large crowd?
Absolutely. Set up an assembly-line workspace and work in batches — build all the bases first, then add meats across all cups, then cheeses, and so on. It goes much faster than building one at a time.